Boat Projects

A friend was in town doing some long overdue maintenance on his 25ft sailing boat so I got roped in to help, pun intended. His old instruments in the cockpit were well retired and until he gets around to getting new ones I thought 3D printing some vents would be a good idea. I did a couple prototypes before the final one which I embedded bug netting within the print. There a lock nut from the inside to keep it secure as well as sloping vents to encourage water egress as well as a cap that can be put on in the inside when away or at night.

Another needed piece was a replacement door for the companionway as well as a new traveller both made from solid teak.

ComfyUI Animation and ElFuturo

Here’s a short compilation of animations I made using comfyui, some of them I took old content I created with blender and fed it back in.

I’ve also been playing around with the new Stable Diffusion Model 3.5 which seems to be much better at rendering text and combining different elements. It still seems heavily skewed towards faces and poses.

AI – Stable Diffusion

Recently I’ve been playing with Stable Diffusion to make some visuals and also reimagine some of my past visuals by feeding it back in. The audio was done in Abelton live with Vital Synth.

It’s very interesting all the possibilities of AI for image generation and tag interrogation. Sometimes as an artist you get stuck in the tunnel vision and having a way to add some chaos into the mix can be helpful. Another area which is can be helpful is initial concepting where you can get a bunch of different variations on a theme and start to work your way towards a goal. Only problem is now I need to invest in a new video card and probably a new computer LOL!

GN-Africa

Heightmap Terrain Project

I recently did another project with CharlesCampbellArt helping streamline his manufacturing process. The project consisted of using heightmap terrains overlaid with a hexagon grid to trace out the curves of the terrain for lasercut acrylic and metal. His old process was a very manual one using fusion 360 to slice it up and get the relevant geometry. As anyone who has used fusion 360 for this process knows it can be very time consuming and frustrating experience doing boolean mesh operations within fusion 360. He had already started using Blender for some of his workflow and I suggested doing a more procedural method using geometry nodes. I setup a process to create the grid network with suitable adjustments for the final material and tolerances. Using Blenders builtin modifiers and geometry nodes allowed going from a black and white heightmap to a layout with all vertical panels ready for nesting. There is still some manual steps to allow for placement of the grid and sizing but the arduous task of boolean operations and laying them out for manufacture was implemented with a geometry node plugin that rightfully abused the new UV unwrap node.

One of issues to overcome was keeping track of what goes where for once it’s manufactured it must be reassembled in a specific configuration. Since geometry nodes is quite new and still under active development it’s missing a few things that would allow using strings procederally in the way I needed. Luckily I found a node group that would work so that all faces are numbered and are visible both before and after the unwrap.

I always enjoy helping artists overcome technical challenges and seeing things come to life. Its also especially gratifying to show people the power of Blender and get more people interested in this great opensource software.

Aparition-timelapse

Apparition

I recently had the opportunity to work with a local artist Charles Campbell in Victoria, BC creating some visualizations of a public art project he is working on. The original models were done in fusion 360 by Charles and exported as OBJ files for me to import into Blender. I used geometry nodes in Blender to replace the complicated meshes from Fusion 360 with simplified ones done within Blender by using bounding boxes and instances making it fairly lightweight. I did some tests with geometry nodes to fake a dynamic wind system but due to the movement in the scene and the size of the objects it didn’t add much to the visualization. We also added some mostly accurate visualizations of how the sun would rise and set given the location and time of day. I used two different times of year, one around the equinox and one around the summer solstice to help offer some insight to the play of light. The proposal was a success and it should appear sometime in the future near a skytrain platform in Vancouver, BC.

Here’s the proposal video by Charles Campbell Art be sure to check out some of his other past works.

Alpha Lyrae (Beakerhead 2018)

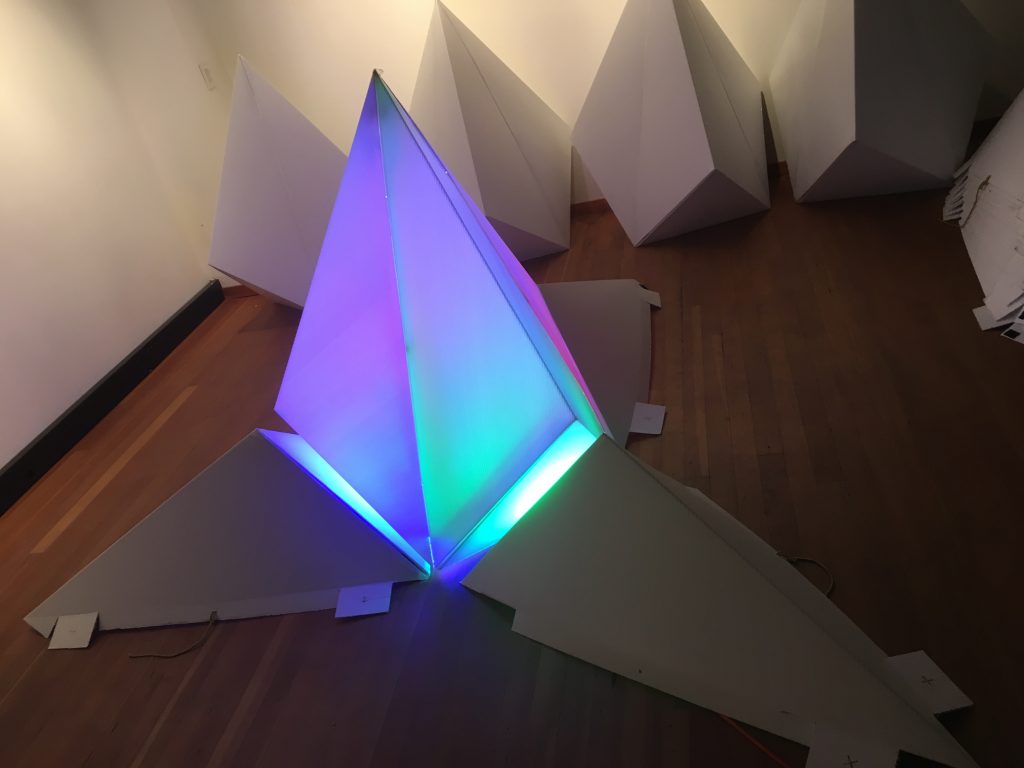
This year we were invited back to beakerhead to revisit our previous years project. Unfortunately due to many circumstances surrounding alberta and it’s art funding there wasn’t as much budget or time to create as large of an installation. We decided on just doing the light element and reorganized our triangles to look more like crystals. It just so happened that the star alpha lyrae was going to be directly overhead for this solstice edition of beakerhead so we decided to use the star’s name.

Motion Capture & Rigging

I’ve used Blender for all my animation work but never seemed to have the time for rigging. I decided it was about time to go down that particular rabbit hole and what a rabbit hole it is. Rigging is definitely a huge area in on itself and although I got the basics I realized it would take a very long time to correctly rig an entire human model. Luckily as is often the case other people have been working on solutions. One such opensource program focused entirely on the human-ish form is called Makehuman and they have a blender compatible rig as well. It doesn’t take long with makehuman to fiddle with proportions and come up with a human that fits the bill. I then exported and brought that into blender but animating every tiny bone takes a lot of work, even with inverse kinematics. I decided I’d find some motion capture data and apply that to the rig. And viola! Since I was also playing with the dome visuals at the time I decided I’d also try a 360 export.

BowWave@beakerhead2017

We did it.   Our Project titled “Bowwave” presented at this years Beakerhead where art meets science went off with a resounding success.
Our team of talented Artists, Engineers, Lighting Experts, Engineers and Musicians brought our concept to fruition.   Our inital goal was to utilize some ancient circuits and button pads from an old science centre exhibit to control a lighting array on a sand rock bar that had formed from the flood in 2013.  When the buttons, which were electric field sensors, were triggered they would play a sound and light up a line of lights.  The idea was that it would take many hands to fully activate both the sound and light components, in this case 10.

To read some more technical details of this project keep reading. Or click to watch a video recap.
Continue reading BowWave@beakerhead2017

Wooden Vessels

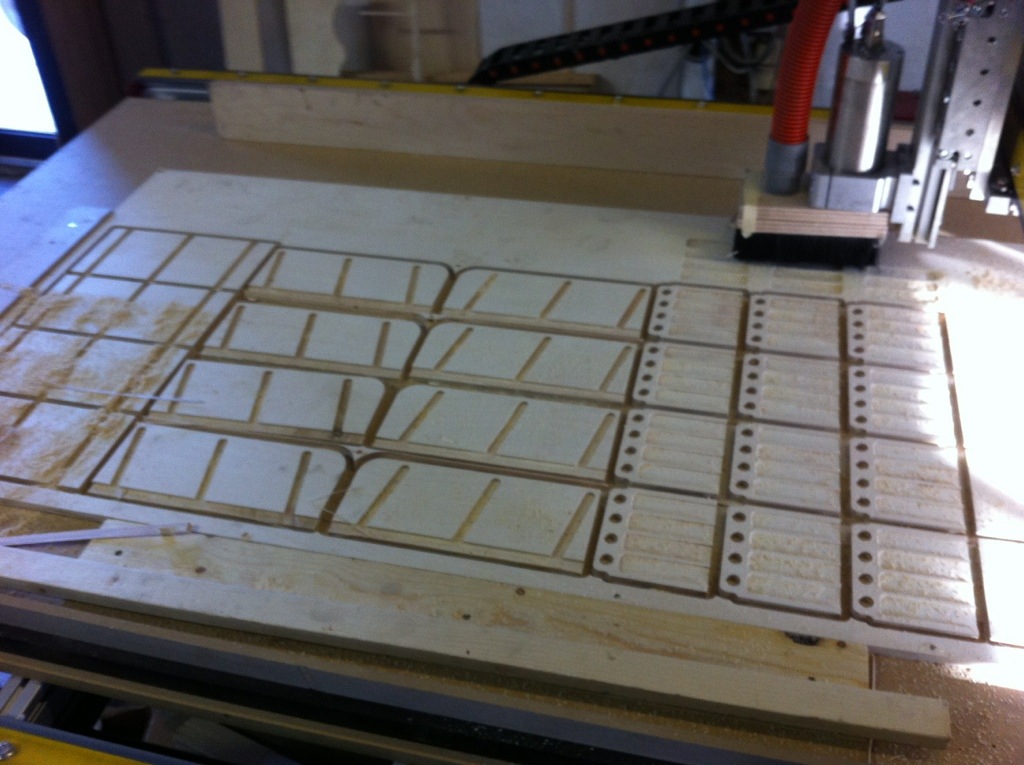
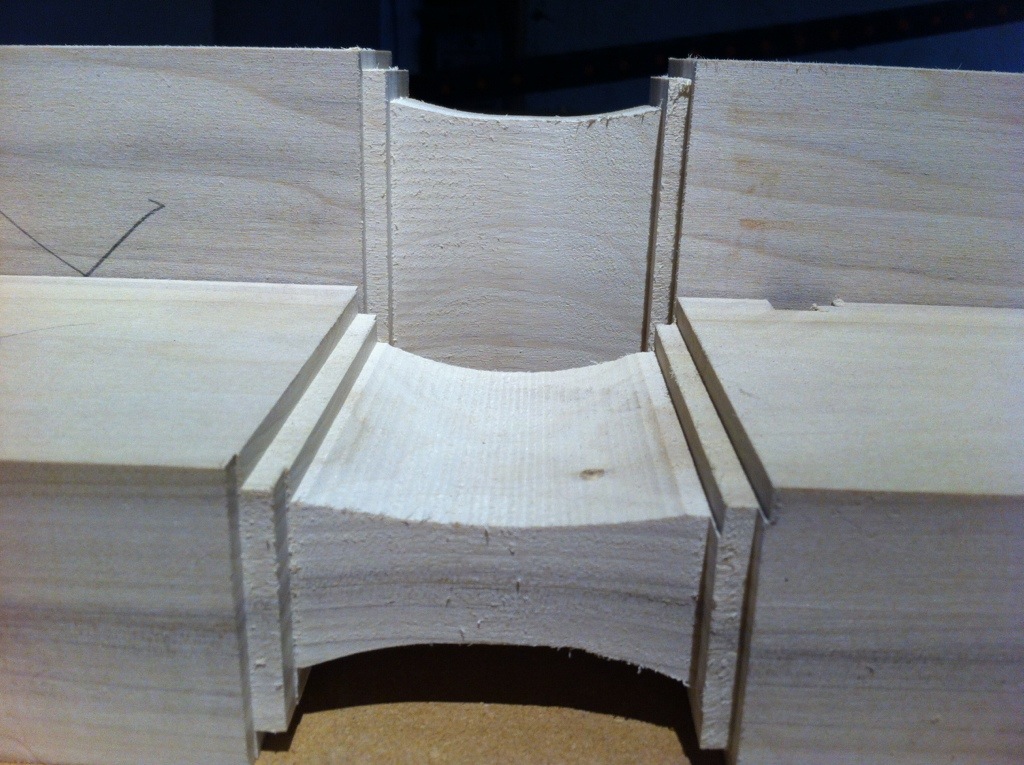
A new project me and my dad have been working on is creating wooden vessels with the CNC machine at work. This project started as a tribute to my late grandma who had her own interpretations of vessels through her years of pottery work. We thought up a bunch of objects that would be near impossible to do by hand. Of course there is still a lot of hand work that needs to happen for these objects to truly shine. It was a bit of a challenge, not only in holding down the pieces but aligning them when cutting out the other side, designing the objects and fine tuning the tool paths.

Using GLSL in Quartz

A Few years ago I stumbled on some interesting sites that used GLSL programs to create some neat visuals.
A bit of an introduction.  There’s many libraries for making graphics in computers but one that has been around for quite a while and is used in many places is called OpenGL.  It takes care of a lot of the underlying details so you can specifiy a box or a cube or just triangles and have it draw something on your screen in a 3D world.  GLSL is a subset of OpenGL written specifically for GPU’s, ie your graphics card.    This allows you complete control and very low level control over exactly how those triangles get converted to colored pixels on your screen.
Continue reading Using GLSL in Quartz

Dome2

It was the year of the dome.  After being confined to single planes, generally square, occasionally shaped, this year was the full meal deal.   We were playing on a full dome, 360 degrees around and 180 degrees above.  All this extra screen Realestate,  of which I was informed was 2k video, was going to need a new computer.  Apparently 2k video is (1920×1080) times 2.  I didn’t learn this till after and though it was 2048×2048,  so I had the right vertical resolution but I could’ve had twice the horizontal.  I don’t think anyone noticed.
It was the year of the dome.  After being confined to single planes, generally square, occasionally shaped, this year was the full meal deal.   We were playing on a full dome, 360 degrees around and 180 degrees above.  All this extra screen realestate,  of which I was informed was 2k video, was going to need a new computer.  I put together a new hackintosh computer with an almost current NVIDIA 960 graphics card.  Apparently 2k video is (1920×1080) times 2.  I didn’t learn this till after and had used 2048×2048,  so the vertical resolution was ok but I could’ve had twice the horizontal.  I don’t think anyone noticed.  The Nest Dome group that had setup the system was also bringing the dome to Beakerhead and I was invited to play.  Domes are quite interesting compared with regular video, you have such a large area and there is not really a specific focus point.  Some areas such as behind the dj or the first 30degrees up the dome are easier to view but it doesn’t mean you can’t have an element waundering around.  With such a big surface one has to make sure it doesn’t move too fast or you don’t change too much background too quickly since motion sickness is a real issue. 

Beakerhead

I got a last minute invitation to do visuals at beaker head.  The NEST dome guys from Montreal that were out at motion notion this summer were being brought to town to showcase the full dome.  Time was tight so we only ended up jamming for an hour while Essete played some nice beats.  Was still a fun nite and great to see everybody’s faces as we took them on a journey through our imaginations.


Fozzy Fest 2015

Here’s the stage at Fozzy Fest 2015 that I helped put together.  I was too beat from the extensive setup that I didn’t have the energy for doing visuals, luckily we had other people to help out.

Hackintosh

To be able to keep up with rendering 2k or 4k video I decided I needed a new computer.  Laptop’s weren’t really cutting it these days, I can’t put new Nvidia cards into them.  Plus mac’s are overpriced for what they contain.   I’ve been following along with mackintosh’s for awhile and even managed to boot up an old Pentium 4 shuttle box I had at one point, but it sounded like now things have started to stabilize.  After many hours researching on tonymacx86 I took the plunge and started ordering.   For roughly $1200 CDN I could put together a pretty powerful unit,  Core i7, 16gb ram, 250gb SSD drive, Nvidia Geforce 960.  There was relitively few snags on setting it all up.  My main problem was because I was trying to triple boot,  Windows 10/ OSX/ Linux (Mint).  It seemed every time I installed a new OS  it would blow away the boot manager from the previous ones,  I’m looking at you windows.    After some trial and error I have it all up and working.   Now which OS will I find myself in more 😉
 

Pi2

It’s been awhile (3 years) since the first raspberry pi, the $35 computer, came on the scene.  Three years is a pretty long cycle not to have any major significant change in the computer industry .  Sure they doubled the ram and added a few usb ports over the year, but original processor that drives these beasts was definitely showing it’s age. Then just recently they dropped a full refresh from what appeared out of nowhere.  I’ve bought both of the last two significant upgrades and was about to drop money on the third but thankfully I hesitated that weekend and much to my chagrin the announcement came out.  So I quickly ordered up a couple with some wifi dongles, it’s really too bad they didn’t include wifi but, it’s only a $35 computer for pete sake’s.
Continue reading Pi2

Events

The Big List of  Projects

Spanning over a decade from intimate parties  to large multistage festivals. Here’s the ones I can remember, I helped out with many other crews so quite a few are missing 😉

2000 – 2016 – Motion Notion  – VJ
2010 – 2019 – Bash on the Bow – VJ, Sound , DJ
Continue reading Events

Spiral Vases

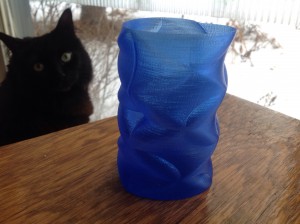
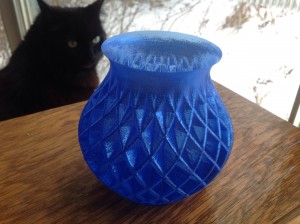
Here is some great new prints utilizing slic3r’s spiral vase mode. Printed on an i3 Wilson using diamond age translucent blue filament at .2mm layer height and .5 mm layerwidth with 1 perimeter and 3 bottoms using a Jhead .35 nozzle
IMG_0672.JPG  IMG_0675.JPG
IMG_0668.JPGIMG_0671.JPG

From real to imaginary and back again reversed

 
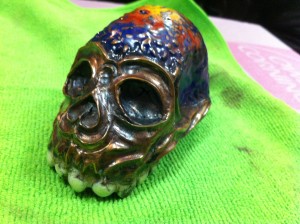
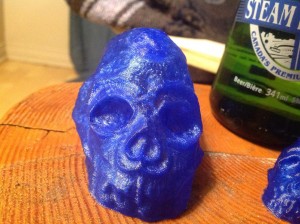
Here’s my latest attempt at replicating a real object. The original was a beautiful hand crafted copper and enamelled skull by Markus Michel.
3IMG_0654.JPG
IMG_0655.JPGIMG_0656-0.JPG
This was done using an iPhone, Catch 123D, Meshmixer, Blender, Slic3r, Pronterface and Smoothieboard  on my RepRap Wilson 3D Printer.
 

Grand rep rap bot

Well the 3rd generation of my 3d printers is now operational. I’m sure there will be some initial growing pains but so far the Wilson is shaping up to be a wonderful machine. The newly acquired smoothie board is fully operational and I even managed to print a calibration pyramid with the arcol v4 all metal hotend I picked up a couple years back. I still have to wire up some end stop switches and tidy the wiring. All the components I received from Voxel Factory were top notch. The power supply barley turns the van on even with the mk2a aluminum heated. Although our miserable weather might have some input.

20140403-202939.jpg

CNC Shenanigans

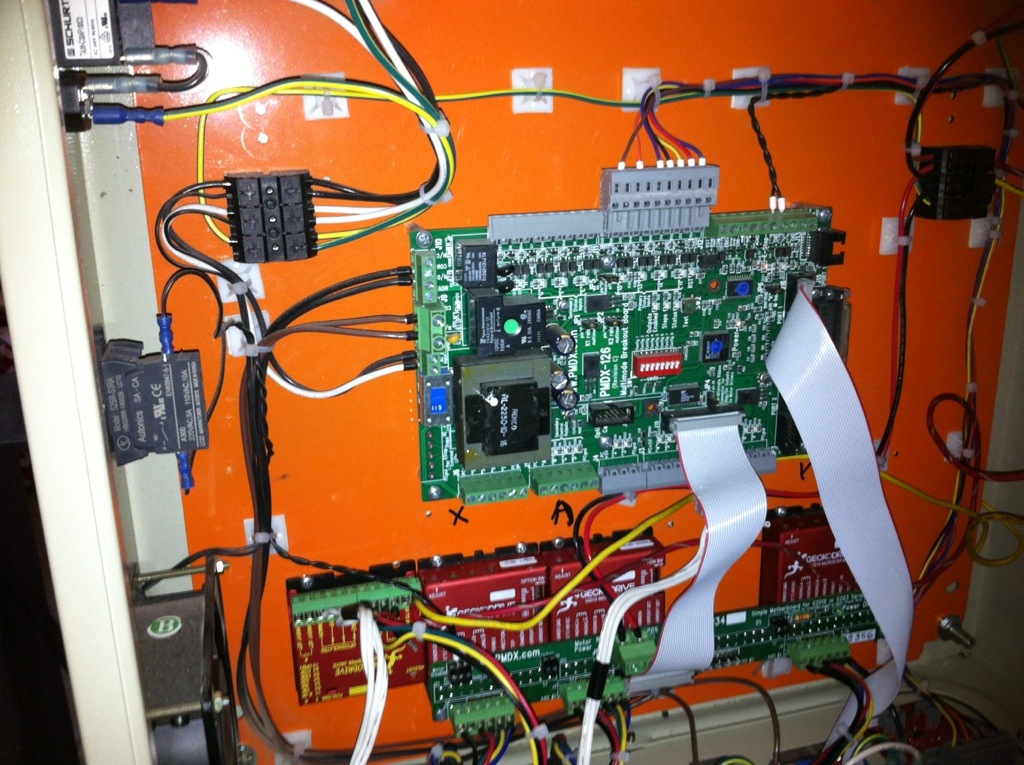
At work in part of the ongoing rebuild of the shop I put together a kit CNC that’s been performing wonderfully but recently one of the g201x Gecko motor controllers stopped working. After verifying it wasn’t either the motor/wiring/or controller channel, if the non-existent green power light wasn’t the dead giveaway, I sent it back to gecko for hopefully warranty. After doing a little more research I discovered the g201x don’t have any protection circuitry and the 20% more expensive ones, the g203v, had not only loads of protection circuitry but an internal fuse too. I ordered up two as they were pin compatible with the g201X, or so it said. After receiving the motors I had a good chuckle that even in the manual they referred to how indestructible the G203V ones were. Saying the V in the name was for vampire.
It turns out though by pin compatible they mean all but one pin which has an opposite select voltage, 0V instead of 5V for the motor disable, or was that the other way, needless to say it
Tripped me up for a bit. After a few helpful emails from Ahren at CNCrouter parts, my kit supplier, I learned that to mix these two “pin compatible” drivers I would need to wire up one of the drivers manually instead of using the nice pre-done wiring. Eventually I got it working and after fiddling with the trim pot on the motor driver all was back to normality, whatever that may be. It was nice to be back cutting again. I think I’m going to change the whole machine to the new drivers as there relatively inexpensive compared to down time and hopefully with the warranty I’ll have two complete sets letting me use the nice wiring board. Plus I think I already have another plan for the other drivers, laser cutter/engraver.

20130223-121810.jpg

20130223-121934.jpg

Prusa v2 update

I just finished my third printer, the makerbot is now a grandparent. Behold the prusa v2.

20121209-185700.jpg
I finally got around to putting on the old v1 heatbed and I hooked up the arcol v4 resistor. Sadly the stainless steel thing is far to fragile and blew out, I’m also dissapointed it uses a different thread size then the standard heater barrel, so I can reuse the awesome resistor core and mount, so i’ve thrown in a Maker Gear heatcore with a .25 big head nozzle. So far so good.
This build also has machined pulleys and t2 belts with lm8uu linear bearings. Finally I get flat bottom layers and circles are circles.
I’m also digging slic3rs new concentric fill, still a few bugs in the way it sorts stuff but I’m sure it’ll get fixed soon. Thanks sound for a great utility. I haven’t gone back to skeinforge since it tried it,

Hall effect home switches

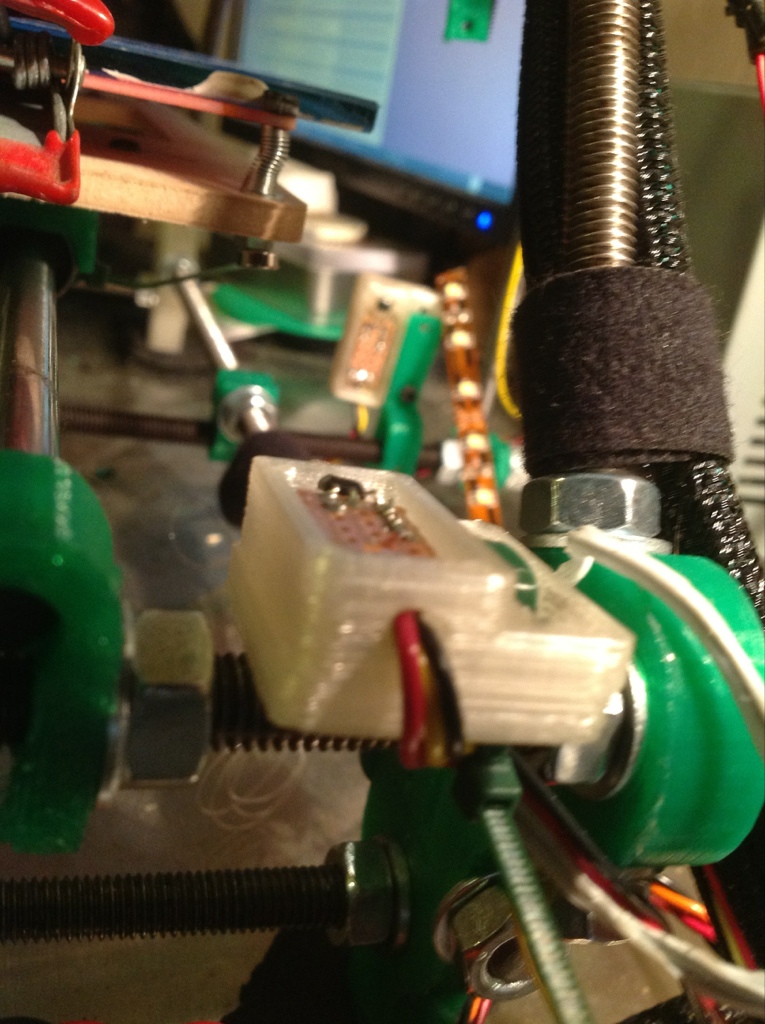
Here’s some home switches for a cnc or 3d printer, opensource hall effect switch
update:
I built a bunch of these and have since installed them on the cnc at work and on my new prusa v2 reprap build. There great, I love the versatility of using the magnet as the switch, i’m able to tape or glue or if there’s some metal frame nearby just stick it to it. Plus the little light to let you know its on is nice. Mine are uv LEDs. I almost wonder why people still use the optical endstops, they definitely cost more.

20121209-191634.jpg
In that picture you can see the y and the z the little magnet for y is on the bottom bolt on the heatbed, I havn’t quite figured out how to mount the z or x one yet, yeah g92 x0y0z0.

Spindle GO!

My 2200watt water cooled Chinese spindle from automation technologies with accompanying inverter arrived yesterday. After driving around town to various post office depots I picked up the final pieces to the puzzle. I also had to find a water pump and plumbing. I ended up buying a cheap $69 fountain pump that can do 170gph with a 5ft head with a flow control. I also bought a few plastic bits to convert from the 3/8 to 1/4 that the spindle takes, all ID measurements. Which was part of the problem. I bought braided tubing so that there would be no chance of the hose getting crushed, not that it should, just in case. I forgot to take into account the extra OD but luckily the cheap princess auto stuff is actually two separate layers so I just peeled off a little at the motor so it fit it’s crush connectors. I wired up a 3 phase switch to the inverter and bought some 4 conductor 16ga shielded? For the motor.
As per tool designer build log videos I setup the wiring.
3 phase = Inverter.
110v = R
110v. = S
110v. = T
Gnd. = E
Motor. = Inverter
1 =U
2 =V
3 =W
4 =E
I’m not 100% on the 10k pot wiring,
ACM=GND on pot
V1= Outside leg of pot
10v=center leg of pot
DCM=switch+
REV/FWD=switch sense
So after getting that all together and verifying connections I hooked it all up and away it went. I just wanted to verify it was functioning and success. Tomorrow my job is to finish putting it back on the machine and make a more permanent mount for the switch and inverter and water pump. There is still endstops switches to install and after reading more about the hall effect type switches I think I might make them for homing. Repeatable/accurate and no moving parts to boot. I still think switches are fine for end of travel but for initial homing sounds great.

CNC build

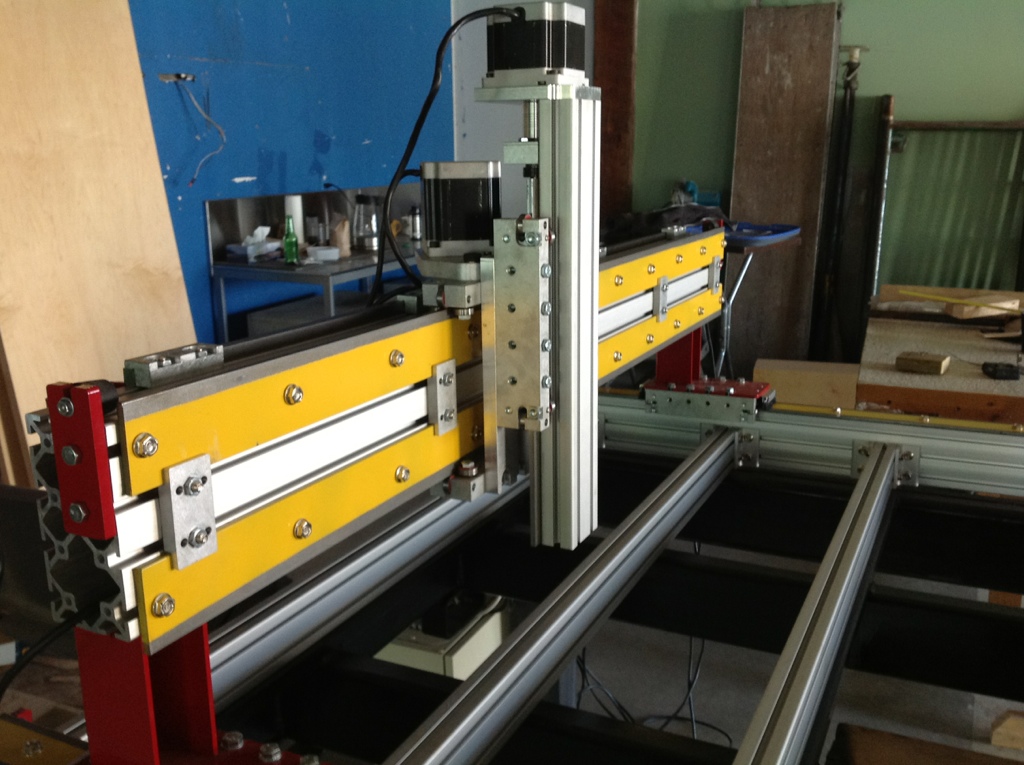
I decided on ordering up a kit cnc to use as a proto machine for the new shop. It’s going to be awhile before we hear back from insurance and have a spot worthy of an expensive piece of machinery I figured a kit CNC that you knew exactly how it goes together and open would be a proper starting point. So after digging around on the interwebs for awhile I stumbled across CNC Router Parts. There kit had good reviews and claimed to be “open”. The kit with beefier NEMA34 motors run by a PMDX-126 controller and gecko 201x drivers and prewired electronics was ordered and received. I decided to use Calgary Customs Brokers which seemed to work out fine. The kit included NAFTA certificates, which was a first for anything I’ve ordered, but helped save on boarder charges. One thing that amazed me is that UPS freight is still in business. The pallet was pretty chewed up and most box’s had holes in them, but luckily the packing from cncrouterparts was good enough to save any injury.
The one caveat with there kit is it includes no written instructions. It would be helpful for most people to at least have a few page printout of the various components from a few viewpoints. There pictures online are all an isometric view which obscures some details. I’m also trying to get away from tied up formats and the “free” Solidworks viewer removes the measure tool, at least as far as I got. But other than those small details the kit went together in no time.
Thanks to lots of great tutorials on. Cnc zone forums by a one “tool designer” the finer points of assembling a machine were brought to lite. Often when I’m putting together pieces I get in a zen state where thinking about anything other than tightening this nut and fasting that bolt has little relevance in my current existence. It’s very refreshing to have another approach presented.
The more challenging task I faced next was to get LinuxCNC, formerly called EMC, to function as the brain for this bot. After fumbling around for awhile with no solid progress I decided I’d try mach3. Cncrouterparts supplies a config for mach3 but even that didn’t work, I was doing something wrong what I wasn’t sure. I decided if both of them didn’t work I’d focus my attention on the opensource one and pull out the necessary info from mach3 config. Although it would have been doable I proceeded to download the manual for both the PDMX-126 controller and gecko 201x controllers. There was also a daughter board that just cleaned up the wiring. After finding the right pins in the config I input them to linuxcnc and presto magico we have movement.
I also found a blender Goode plugin which works surprisingly well, another problem to deal with is making a new post for enroute if I still want to use the software.
There’s since been a lot of tweaking and adjusting bearings and rails, until we get the spindle it’s hard to do much more other than pen tests. There still is a few more things to add, home and endstops. There will also be water lines to run and spindle control wires. I have to figure out where to mount the motor box and computer, I should also pickup a monitor arm or make one.
Then I should get the joint’s setup properly with linuxcnc so as to have squareness verification when homed, at least that’s the theory.

20120927-194445.jpg

20120927-194521.jpg

Motion Notion 2012

It’s that time of year again, summer festival season. I will be playing Motion Notion again this year on July 18-22. I’ve done visuals at motion notion almost every year, I think there was one I took a break from and the first one I didn’t do.
I’m really excited about the new location, Golden, B.C. It’s always nice to be camping in the mountains. usually a fresh location helps infuse some new energy and stir up the stagnant pools.
I’ve got some mind numbingly fun stuff in the works for you to all enjoy
More info to come.

2012

Well it’s 2012 and the buckybot printed me out lots of Christmas presents. I hope my family isn’t totally sick of free objects.
I finally put in an arcol type hotend, aluminum block with resistor. It works great, at least after getting the nozzle and barrel tight enough to prevent leaking. My next step is to insulate the block and add a little fan. The fan currently setup cools it to much and after 10 minutes it gets too cold to extrude.