Table numbers
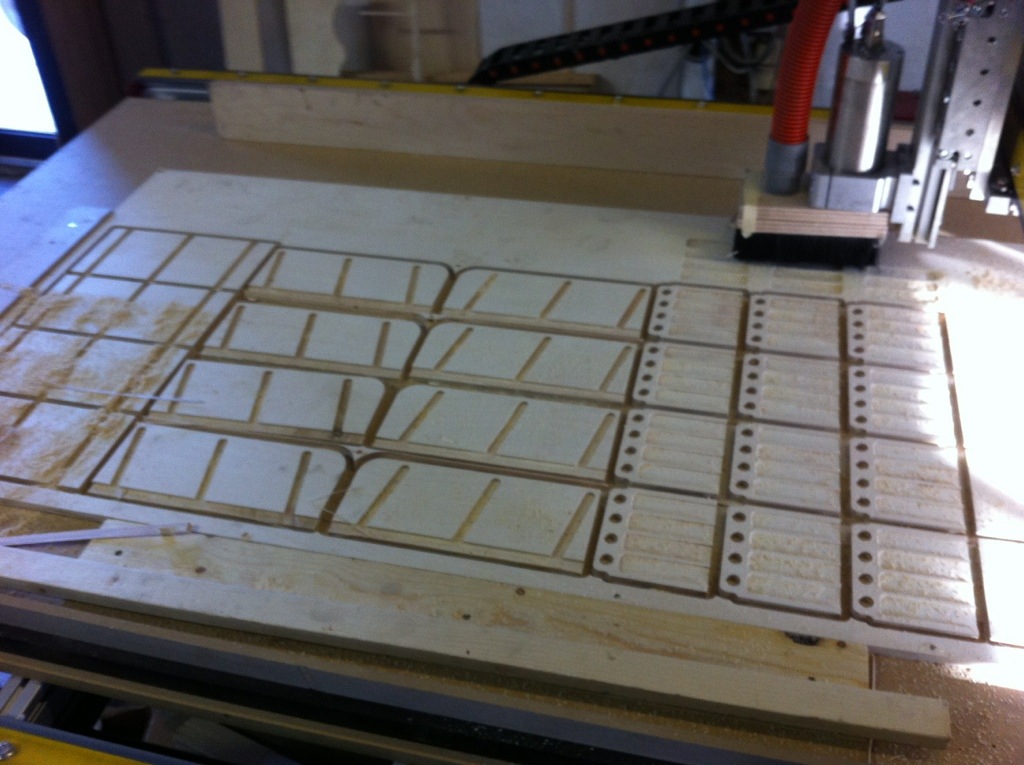
Here’s some recent table numbers I designed and manufactured with the help of my CNC.


These were for the Lake House Restaurant by CRMR
Here’s some recent table numbers I designed and manufactured with the help of my CNC.
These were for the Lake House Restaurant by CRMR
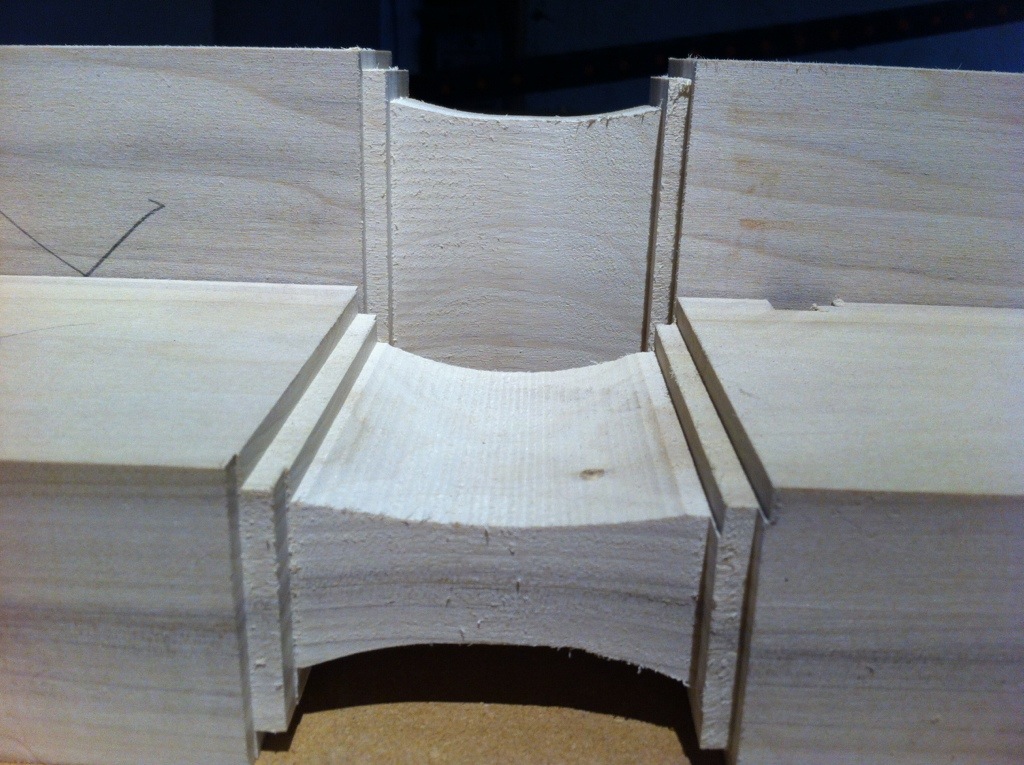
Here’s a couple other projects I’ve done recently,
Some essential oil display units.

This is how I cut them.
And some posts for a stairway.
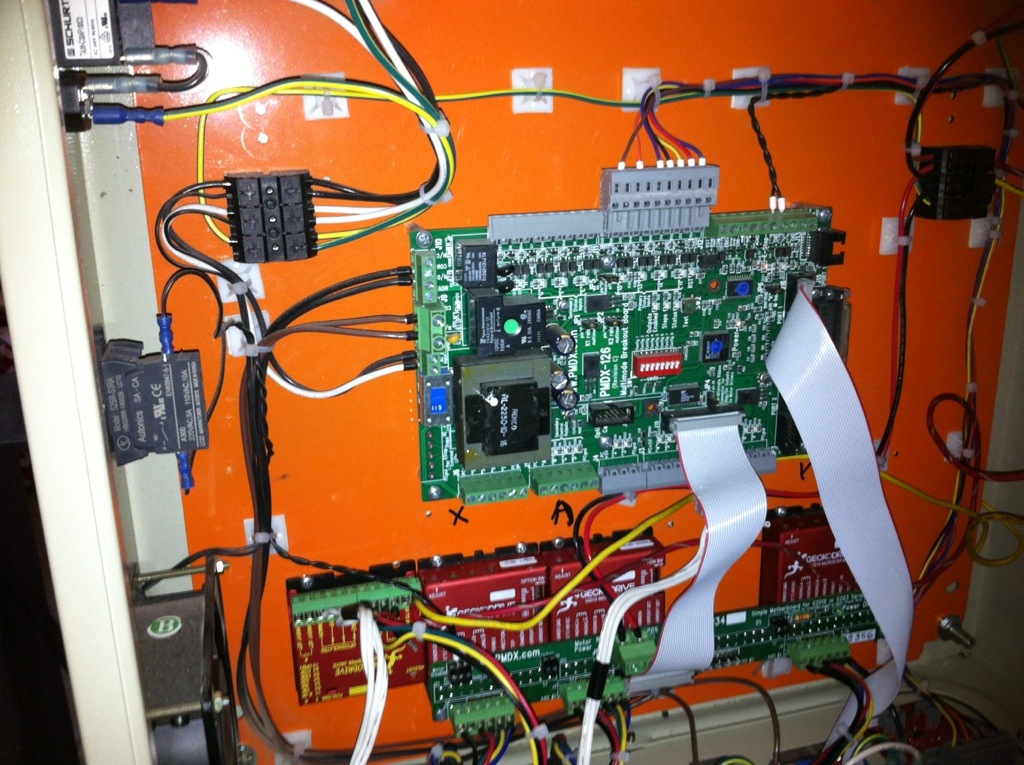
At work in part of the ongoing rebuild of the shop I put together a kit CNC that’s been performing wonderfully but recently one of the g201x Gecko motor controllers stopped working. After verifying it wasn’t either the motor/wiring/or controller channel, if the non-existent green power light wasn’t the dead giveaway, I sent it back to gecko for hopefully warranty. After doing a little more research I discovered the g201x don’t have any protection circuitry and the 20% more expensive ones, the g203v, had not only loads of protection circuitry but an internal fuse too. I ordered up two as they were pin compatible with the g201X, or so it said. After receiving the motors I had a good chuckle that even in the manual they referred to how indestructible the G203V ones were. Saying the V in the name was for vampire.
It turns out though by pin compatible they mean all but one pin which has an opposite select voltage, 0V instead of 5V for the motor disable, or was that the other way, needless to say it
Tripped me up for a bit. After a few helpful emails from Ahren at CNCrouter parts, my kit supplier, I learned that to mix these two “pin compatible” drivers I would need to wire up one of the drivers manually instead of using the nice pre-done wiring. Eventually I got it working and after fiddling with the trim pot on the motor driver all was back to normality, whatever that may be. It was nice to be back cutting again. I think I’m going to change the whole machine to the new drivers as there relatively inexpensive compared to down time and hopefully with the warranty I’ll have two complete sets letting me use the nice wiring board. Plus I think I already have another plan for the other drivers, laser cutter/engraver.

Here’s some home switches for a cnc or 3d printer, opensource hall effect switch
update:
I built a bunch of these and have since installed them on the cnc at work and on my new prusa v2 reprap build. There great, I love the versatility of using the magnet as the switch, i’m able to tape or glue or if there’s some metal frame nearby just stick it to it. Plus the little light to let you know its on is nice. Mine are uv LEDs. I almost wonder why people still use the optical endstops, they definitely cost more.
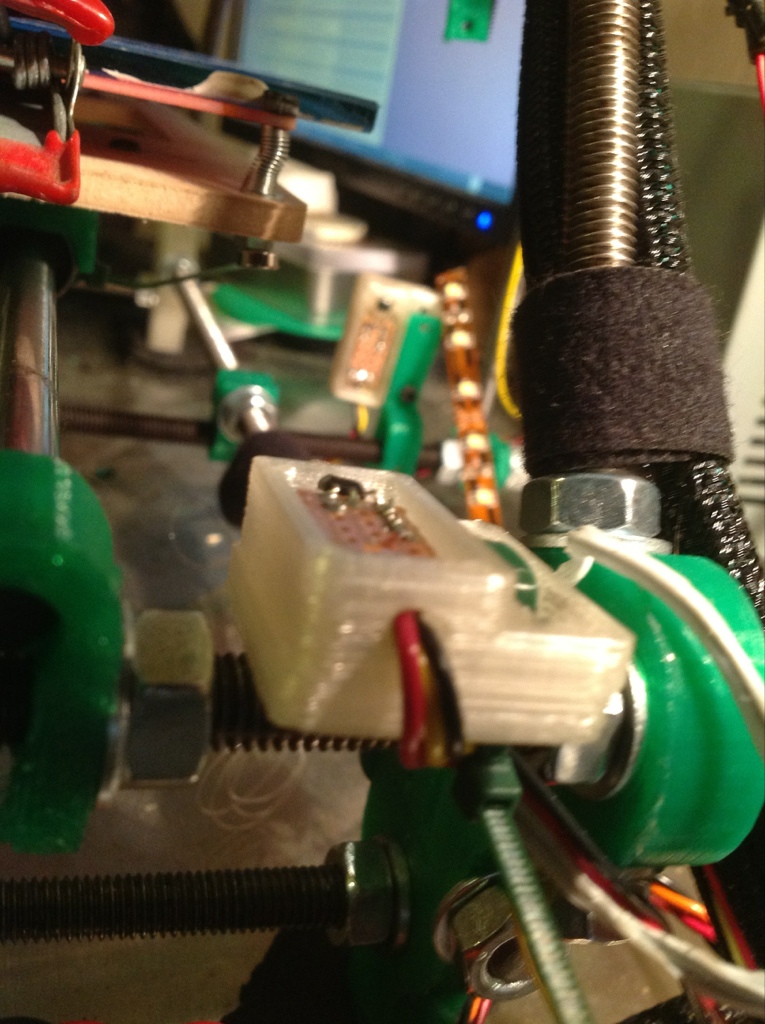
In that picture you can see the y and the z the little magnet for y is on the bottom bolt on the heatbed, I havn’t quite figured out how to mount the z or x one yet, yeah g92 x0y0z0.
My 2200watt water cooled Chinese spindle from automation technologies with accompanying inverter arrived yesterday. After driving around town to various post office depots I picked up the final pieces to the puzzle. I also had to find a water pump and plumbing. I ended up buying a cheap $69 fountain pump that can do 170gph with a 5ft head with a flow control. I also bought a few plastic bits to convert from the 3/8 to 1/4 that the spindle takes, all ID measurements. Which was part of the problem. I bought braided tubing so that there would be no chance of the hose getting crushed, not that it should, just in case. I forgot to take into account the extra OD but luckily the cheap princess auto stuff is actually two separate layers so I just peeled off a little at the motor so it fit it’s crush connectors. I wired up a 3 phase switch to the inverter and bought some 4 conductor 16ga shielded? For the motor.
As per tool designer build log videos I setup the wiring.
3 phase = Inverter.
110v = R
110v. = S
110v. = T
Gnd. = E
Motor. = Inverter
1 =U
2 =V
3 =W
4 =E
I’m not 100% on the 10k pot wiring,
ACM=GND on pot
V1= Outside leg of pot
10v=center leg of pot
DCM=switch+
REV/FWD=switch sense
So after getting that all together and verifying connections I hooked it all up and away it went. I just wanted to verify it was functioning and success. Tomorrow my job is to finish putting it back on the machine and make a more permanent mount for the switch and inverter and water pump. There is still endstops switches to install and after reading more about the hall effect type switches I think I might make them for homing. Repeatable/accurate and no moving parts to boot. I still think switches are fine for end of travel but for initial homing sounds great.
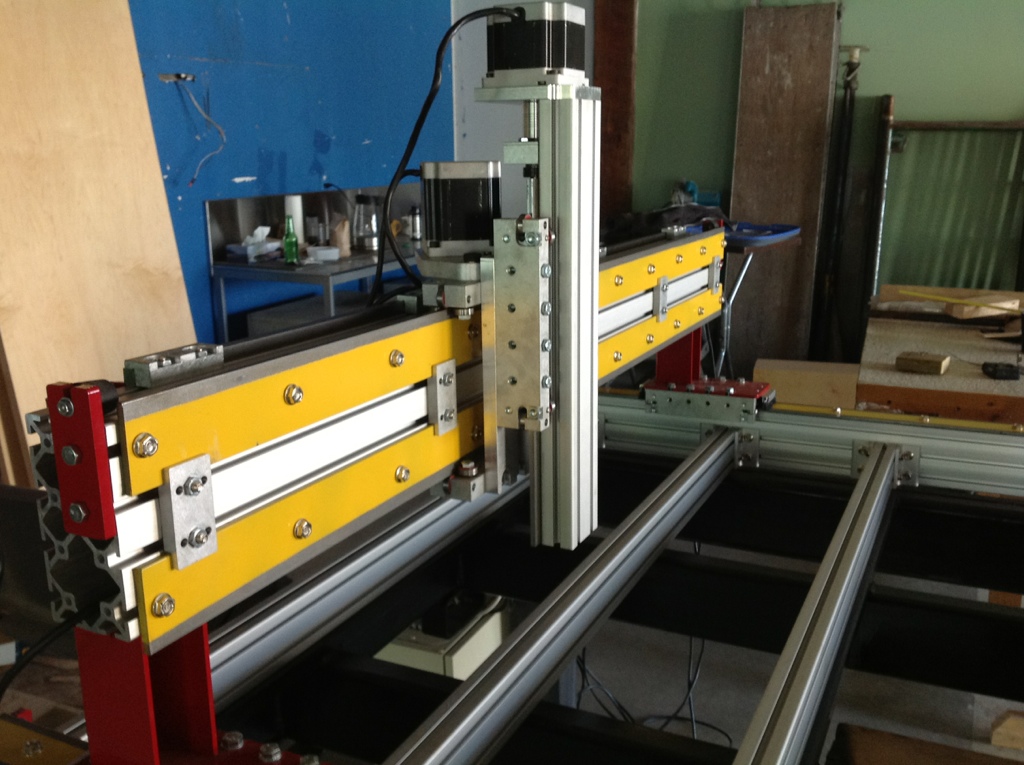
I decided on ordering up a kit cnc to use as a proto machine for the new shop. It’s going to be awhile before we hear back from insurance and have a spot worthy of an expensive piece of machinery I figured a kit CNC that you knew exactly how it goes together and open would be a proper starting point. So after digging around on the interwebs for awhile I stumbled across CNC Router Parts. There kit had good reviews and claimed to be “open”. The kit with beefier NEMA34 motors run by a PMDX-126 controller and gecko 201x drivers and prewired electronics was ordered and received. I decided to use Calgary Customs Brokers which seemed to work out fine. The kit included NAFTA certificates, which was a first for anything I’ve ordered, but helped save on boarder charges. One thing that amazed me is that UPS freight is still in business. The pallet was pretty chewed up and most box’s had holes in them, but luckily the packing from cncrouterparts was good enough to save any injury.
The one caveat with there kit is it includes no written instructions. It would be helpful for most people to at least have a few page printout of the various components from a few viewpoints. There pictures online are all an isometric view which obscures some details. I’m also trying to get away from tied up formats and the “free” Solidworks viewer removes the measure tool, at least as far as I got. But other than those small details the kit went together in no time.
Thanks to lots of great tutorials on. Cnc zone forums by a one “tool designer” the finer points of assembling a machine were brought to lite. Often when I’m putting together pieces I get in a zen state where thinking about anything other than tightening this nut and fasting that bolt has little relevance in my current existence. It’s very refreshing to have another approach presented.
The more challenging task I faced next was to get LinuxCNC, formerly called EMC, to function as the brain for this bot. After fumbling around for awhile with no solid progress I decided I’d try mach3. Cncrouterparts supplies a config for mach3 but even that didn’t work, I was doing something wrong what I wasn’t sure. I decided if both of them didn’t work I’d focus my attention on the opensource one and pull out the necessary info from mach3 config. Although it would have been doable I proceeded to download the manual for both the PDMX-126 controller and gecko 201x controllers. There was also a daughter board that just cleaned up the wiring. After finding the right pins in the config I input them to linuxcnc and presto magico we have movement.
I also found a blender Goode plugin which works surprisingly well, another problem to deal with is making a new post for enroute if I still want to use the software.
There’s since been a lot of tweaking and adjusting bearings and rails, until we get the spindle it’s hard to do much more other than pen tests. There still is a few more things to add, home and endstops. There will also be water lines to run and spindle control wires. I have to figure out where to mount the motor box and computer, I should also pickup a monitor arm or make one.
Then I should get the joint’s setup properly with linuxcnc so as to have squareness verification when homed, at least that’s the theory.